Saturday, 1 November 2014

Getting paint off an old Ercol chair

Back in the nineties, when we were very, very young (practically babies, in fact), we moved in to our first house with a mattress on the floor and a single wooden chair. My mother-in-law rescued us by giving us one of her chairs and a small table from home, so we could sit down and eat!
 
Before...
 
I don't remember what happened to the table, but the chair became a fixture in our lives, and gradually developed into the 'painting' chair. Which sounds more romantic than it is! When there was painting to be done, Tall Man would slip into an old pair of blue overalls and a pair of socks, and grab that trusty chair, so he could reach the bits even he couldn't. Well, Tall Man is a great painter, he does walls and ceilings beautifully, but he also manages to paint anything else that gets in the way. There's the (very) large paint mark on the back of his overall, where he leant against a wall to admire his handy work when he had finished, then there are the countless socks that made their way into the recycling at the end of a painting session, and then there was the chair... Covered in paint sploges, and a number of hand prints and finger marks, it was indeed a sorry sight.
 
Can you spot the hand prints?
 
I'll never forget the look on my MIL's face when she saw her chair again. Anyway, as the years rolled by (like a Ferrari on speed), scandinavian chic became all the rage, and now people want retro furniture in elm, beech and teak and I began to hanker after simple Ercol furniture. Which is when I realised that that old chair was exactly what I was looking for.

Now, many people do a great job taking tatty furniture and giving it a new lease of life by painting it, but I like to see the grain in the wood, and I like the natural simplicity of a plain chair. So, I had a problem, how do I get all that messy paint off my chair? I found a You Tube video which was very good, recommending grade 4 wire wool and boiled linseed oil, unfortunately, I had neither. Instead of rushing out to buy them, I had a good rummage in my under sink kitchen cupboard and found these:

Beeswax (which contains linseed oil) and scourers

I gently rubbed the wax onto the chair, and left some to soak in to some of the more stubborn paint marks, before rubbing it off with the scourer. Once the paint had been cleared from one part I polished it with a clean duster, and that ol' chair began to look quite proud of itself. I must say, that most of the varnish had long since disappeared from the chair, if it hadn't I'm not sure I would have used a scourer, or rubbed quite so hard!

There was a lot of scrubbing...

Anyway, finally I got to this:


and this:


I love it, even if it is an old kitchen chair...

Thursday, 23 October 2014

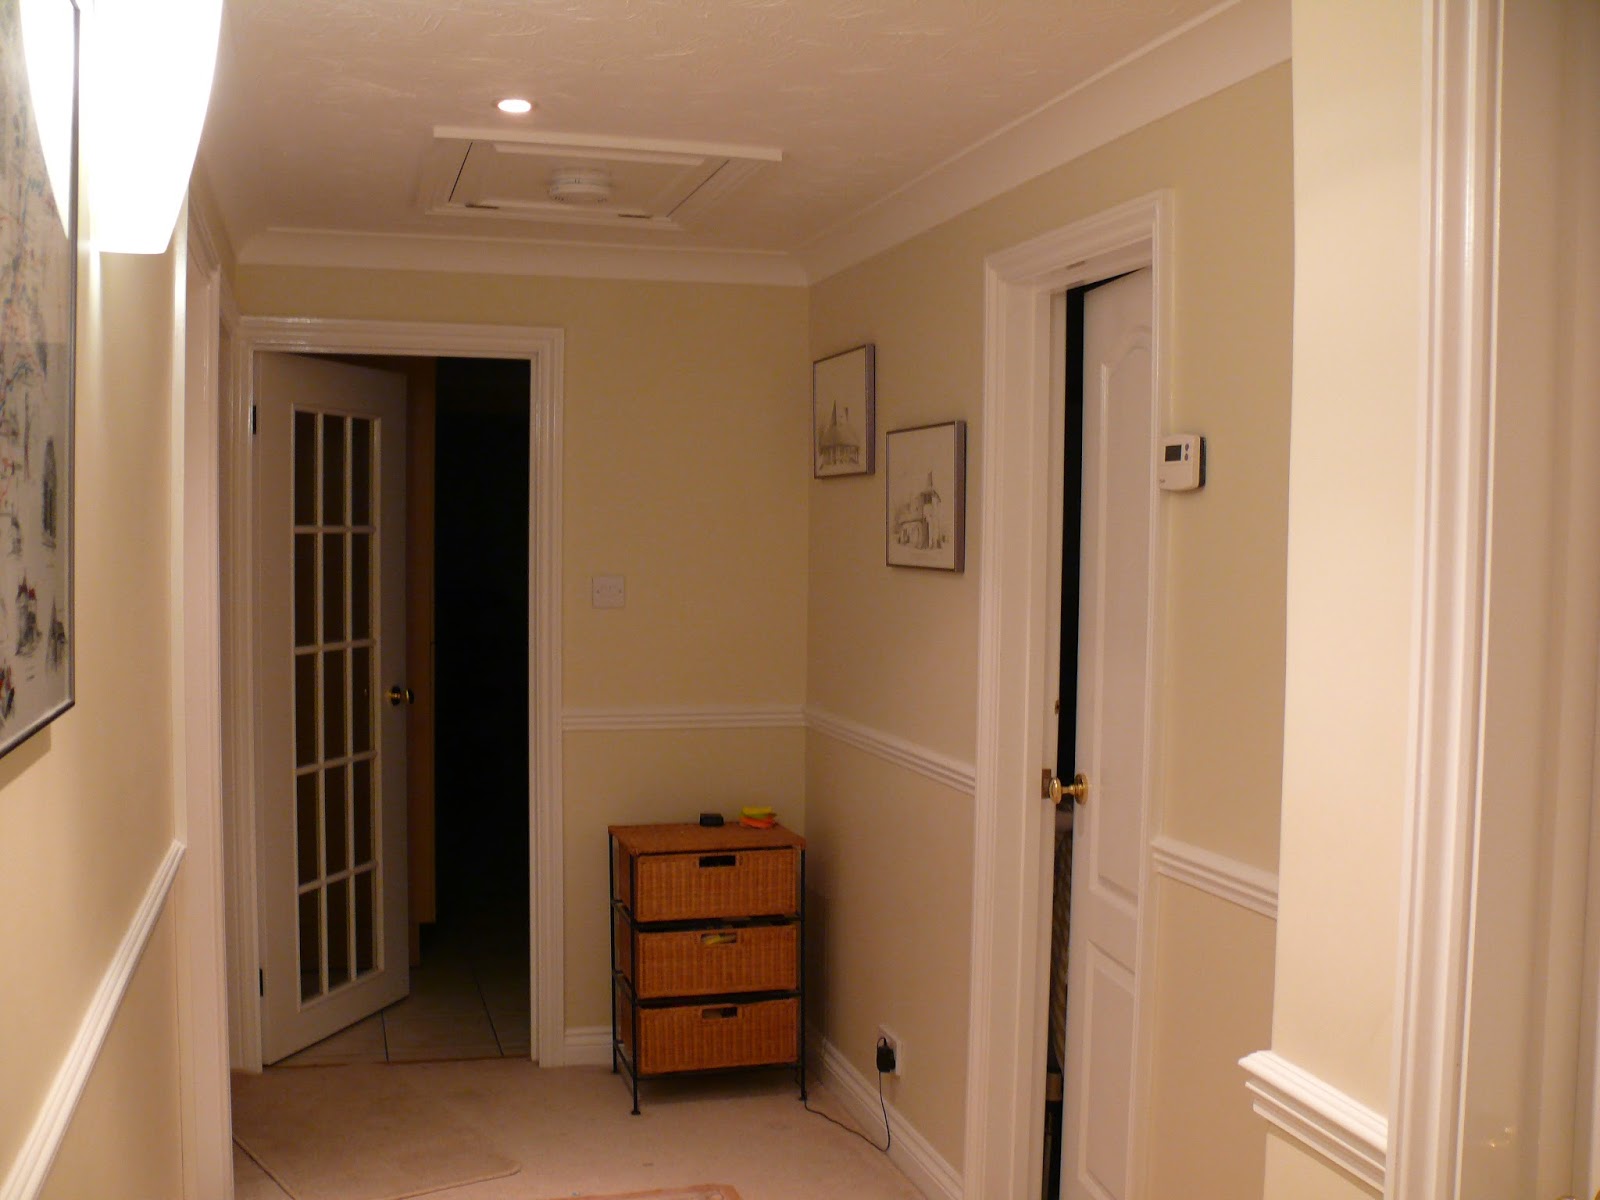
Hallway makeover

It must be something about the autumn that draws me back to my rather quiet blog, since my last post was September last year, I have a lot to add, whether I do or not remains to be seen, I suppose. Anyway, I have been busy round here, and the new house is starting to feel more like our place rather than like a holiday home now! I thought I should record our progress, before we forget the effort we put in.

Before I start giving you a tour of our hall though, I should explain that this makeover is not finished! There are still pictures to put up, and furniture to find and flooring to replace. But I'm starting to realise that houses are never done, so I thought I'd blog anyway, but remember: I have not staged any of these shots ( think you might notice the realism as you go through...

I don't have any proper 'before' pictures, only really this one:


It wasn't just the coral and peach wallpaper combination that cause me problems. It was the very busy texture in the wallpaper and the 7 large brass picture lights - now, I could understand one or two, but seven, really?!
It took Tall Man and I took a week off and worked solidly, stripping wallpaper, cleaning the walls, trying to smooth them and prep them for painting. After 7 days, we admitted defeat. The plaster was cracked everywhere, the walls were bumpy and no matter how much 'Smooth Over' we used, they would only get worse. At that point our hall looked like this (it was quite dingy, it's not just that my photographic skills have failed me again):


and this (we had Christmas like this, can you see the wreath on the door?):


We decided that it was time to call in the professionals, and I started testing paint colours (who knew there were some many 'neutral' paint colours?):


Finally, we settled on Dulux Elderflower Tea, which seems to manage to be neutral and a colour at the same time:
And then, one day we came home to this:


Phew, the Elderflower Tea calmed us down no end. We had all the picture lights removed and replaced them with cheap glass lights from B&Q. I did try lots of different, expensive wall lights from John Lewis, but they all looked cheap and nasty, whereas these cheap ones look rather elegant, I hope!

Now, I'm spending far too long on Ebay dreaming of one of these:


I'd really like to replace the cream carpet with a nice oak floor, just like the picture, but funds need to recover before that ever happens!


Tuesday, 17 September 2013

Rosehip and apple jelly

I've gone from the sublime to the ridiculous, I post nothing much for over 18 months, and then two posts in one night! I suppose it's all about time, when you've got it, you should use it, which brings me to rosehip and apple jelly (neat huh?!). We have rosehips in the garden, there they are in front for the moobours:


and we have cooking apples from the tree that hangs over the fence from our other lovely neighbours, so I thought I should do something with them. It also gave me the excuse for getting yet another kitchen gadget!

I followed this chap's instructions. He explains things very simply, so simply in fact, that I was feeling confident!

I topped and tailed the rosehips, chopped up the whole apples, put them in the pot covered them with water and boiled the whole messy mixture up, just like that:


Then I used the newest addition to my kitchen gadgetry (is that even a word?!), a jelly sieve:
 
I put all the mush into the bag and let it drip through all day and all night:

 
It was a long, slow process, and I was very careful not to touch the bag, as it seems that squeezing the bag will make the jelly cloudy. All the juices had to be boiled up again,
 
 
with  sugar:
 
 
The recipe called for 1kg of sugar for every litre of juice. Luckily, I had exactly 1 litre of juice and 1kg of sugar in the cupboard. I am now the proud owner of four jars and one small pot of very set jelly:
 
 
 I can't quite believe I made this:


New neighbours, or should that be moobours?

We moved house in June, and we've gone from being townies to finding ourselves out in a tiny village (with only 300 inhabitants!). I can't lie, it's lovely. We are still finding our feet and the house doesn't feel like home yet, but we all seem more relaxed. The highlight of this week was meeting our new neighbours, who just moved into the field behind us. The Little People love running out to say hello to them as they peer over the hedge:


Wednesday, 4 September 2013

Old blog, new look...

A lot has happened since my last post, and I now have more time to go back to blogging (famous last words...), I really did miss it.

In an effort to get started I thought I'd start with the decor, gone are the kitsch cup cakes that I loved so much, but welcome to the far more tasteful (I think!) shapes and circles. More posts coming soon - really, really...